My "perfect" mac dev environment
Do you know when we get a new toy and treat it like the most precious think on earth? Oh God don’t let my wife read this! So… I’ve got a new mac and I will setup the perfect dev environment, at least for me. My last environment was a total mess.
First thing to do after turning it on - Update the system. Yeah, I just bought it and I have lots of updates of Mac OSX and other stuff.
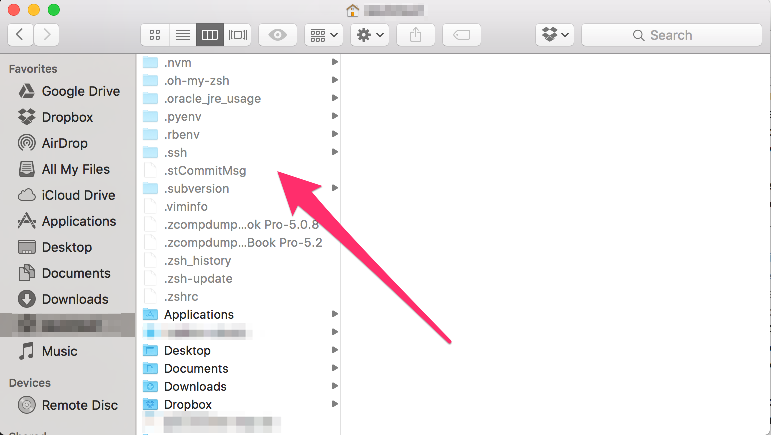
A developer is an advanced user, and as an advanced user I want to see everything. Let’s make Finder show all hidden files:
defaults write com.apple.finder AppleShowAllFiles TRUE
killall Finder
See the result:
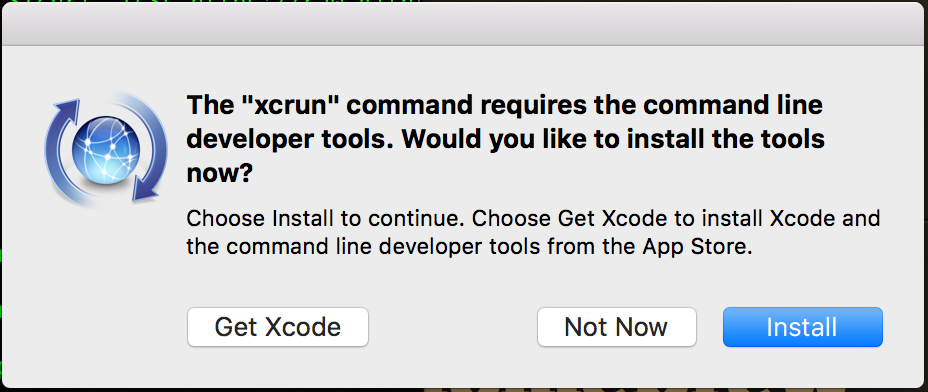
What do I need now? Hmmm let me see… Ahhh! Homebrew, of course!
I just run the magic command line and… Oops! I have to install the command line development tools or XCode. Have I mentioned that I develop to iOS almost 100% of my working time?
$ /usr/bin/ruby -e "$(curl -fsSL https://raw.githubusercontent.com/Homebrew/install/master/install)"
Ok. lets do it. Downloading 3.8GB of love.

After about 4 hours downloading with my lazy connection… I am back.
I really love to work with “Oh My Zsh”. It is not directly related to programming, but it saves me a lot of time, without mention thet it is fun.
Installing zsh: http://sourabhbajaj.com/mac-setup/iTerm/zsh.html
Optionally you can use iTerm2, that works really good with Oh My Zsh http://www.iterm2.com
Preparing to install programming languages
As sugested ins link above, I created a file ~/.env/env.sh and included in the end of my .bash_profile and .zshrc. Just like this:
. ~/.env/env.sh
I’ll put additional initializations in it instead of directly in the shell config files.
Ruby
As you may know, mac OSX has ruby installed, but I don’t want to mess with it.
I used to install ruby directly using Homebrew, but it is not recommended, since you may want to run different versions of it later. So, I first install rbenv, which manages the ruby versions for me.
Type this in the terminal:
$ brew install rbenv ruby-build
add the following line in your ~/.env/env.sh. See the preparation
eval "$(rbenv init -)"
Install the version that you want:
This will take some time, because it will download from source and build it.
$ rbenv install 2.2.5
Activate your new ruby:
This will set your global ruby to the versions tha you installed
$ rbenv global 2.2.5
It is recommended that you restart the terminal after it.
Test it
$ ruby -v Should show your new version
$ which ruby Here you should see an output like this: /Users/myuser/.rbenv/shims/ruby
Node.js
In my opinion, the best way to build a good nodejs environment is by installing nvm with brew and node with nvm.
Installing nvm:
$ brew install nvm
Add the following lines to your env.sh
#node
export NVM_DIR="$HOME/.nvm"
. "$(brew --prefix nvm)/nvm.sh"
Python
The same with python… In this case I use pyenv to manage python versions
$ brew install pyenv
add teh following line to env.sh
``` if which pyenv > /dev/null; then eval “$(pyenv init -)”; fi
Install a version
$ pyenv install 2.7.11 $ pyenv global 2.7.11
The second line sets the default python version

## Updating packages

The only tool that doesn't have a direct update method is pip, but it can be solved with the line bellow:

``` $ pip freeze --local | grep -v '^\-e' | cut -d = -f 1  | xargs -n1 pip install -U ``` [Source](http://stackoverflow.com/questions/2720014/upgrading-all-packages-with-pip);

Actually I update everything at the same time like this:

``` pip freeze --local | grep -v '^\-e' | cut -d = -f 1  | xargs -n1 pip install -U; brew update; brew upgrade; brew cleanup; gem update; gem clean;  npm -g update
